Printer - Not Working
Note: if you have a Bluetooth printer please reference this article. Please note the instructions below are only for ethernet or wifi printers
Most likely root cause: Printer or iPad are on a different network
If the cash drawer isn’t working it’s because the printer is not communicating properly with the cash drawer or POS. If the wire that connects the printer to the cash drawer is secure, you need to check if the printer is properly configured in the POS.
Please note that if the router was reset or factory restored then the printer (maybe) and terminal (most likely) may need to be reconfigured.
Solution: Please follow each of the troubleshooting steps below until the issue is solved. After you complete each step please try a test transaction to check if the problem is resolved.
1. Make sure that the right station is open.
- You need to make sure that you have opened the correct POS station. This is the most common issue that merchants encounter. You can check what POS station you've opened by looking at the top of the home screen.

- If you're on a station other than the one that you usually open, please close the station and open the correct one. If you open the wrong station your hardware won't work. Example: If you open POS 1 instead of POS 2 then the hardware attached to POS 2 will not work.
2. Check your internet connection
- Is there internet in your store? If the whole system is down contact your internet provider.
- Is you iPad connected to the correct network and is there a connection? It is very important that your iPad did not connect to an alternate network. Further, you may be connected to the internet but there may be no connection, please go to https://www.speedtest.net/ to do an internet speed test. If the speed is 0 it means that there is no connection.
3. Double check the connections.
- Check to see that the ethernet cable is plugged into the printer correctly, make sure that this ethernet cable is also plugged into the router correctly. Lastly, make sure that your router is on and has an internet connection.
- Make sure that the cash drawer is plugged into the printer correctly.
4. Confirm that your printer and iPad are on the same network and that it's configured correctly in Nōwn
Step 4a) Confirm the network that your printer is on.
- Turn off the printer
- Press and hold the feed button
- Turn on the printer
- Release the feed button
- One or two sheets will be printed out. The IP address will be shown on one of the pages. Circle it, it will be used later on.
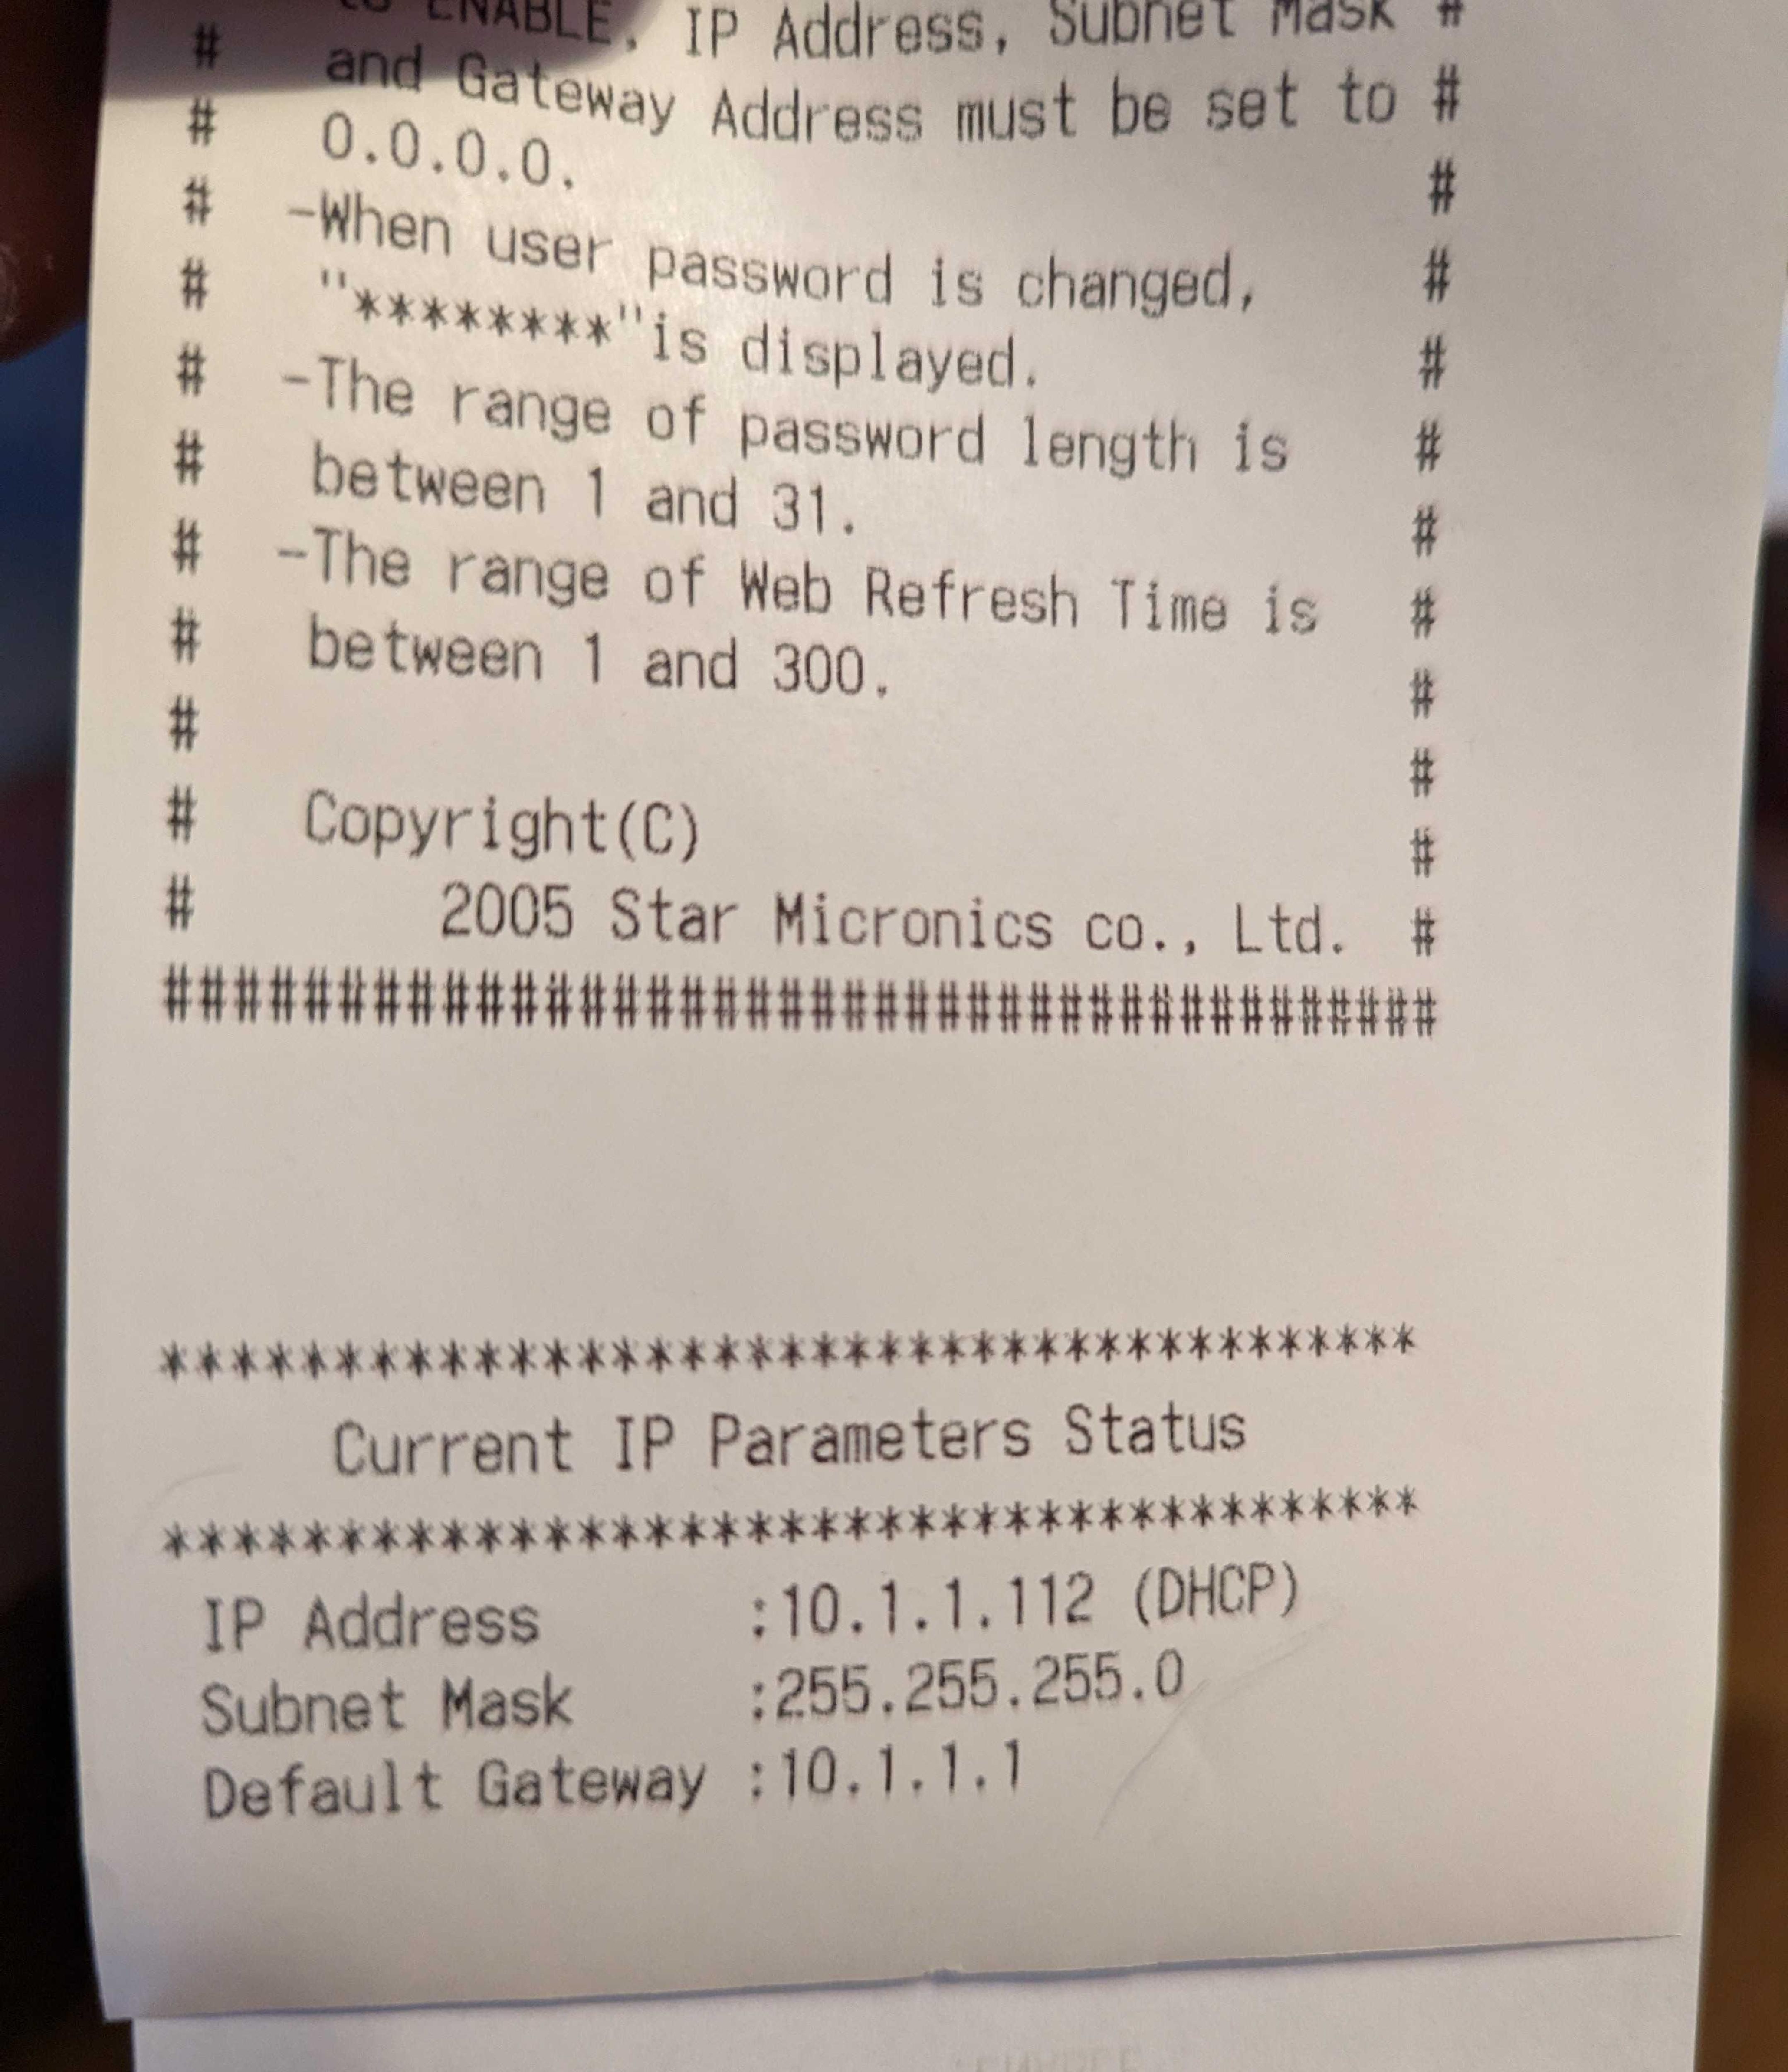
Step 4b) Ensure that the Printer IP address matches what is in Nōwn
a) Open the NōwnPOS app, log in with your credentials, go to the Setup section, found on the left hand bar of the POS
Note: if you do not see the Set Up tab it means you are logged in as a Station user. Please ensure you are using the admin account, this is the one whose account details you received when you signed up for Nōwn
b) Open Station Setup.
c) Click on the pencil icon to edit POS stations.
d) Check to see if the IP address of your printer matches the print out. If it does please proceed to Step 3. If it does not match, proceed to point E.
e) In order to input the correct IP address you need to remove the printer and re-add it. Click on the "X" on the right hand side of the screen to remove a printer. Re-add the printer with the correct IP address, if you need help on how to do this please see here.
The port number is usually port 9100. The only exception to this is if you have a FIIT - Nōwn integration and are using a TSP 650II WEBPRINT printer. In that case your port number is 80. If you don't understand what that means then it likely does not apply to you.
Step 4c) Confirm that the iPad is on the same network as the printer.
- Open the settings of your iPad and click on wifi. Click on the”i” with a small blue circle around it that is located beside the network you’re connected to view more information about the network.

- Check to see if the IP address before the last period matches up with the IP of the printer. Example: 192.168.1.153 vs 192.168.1.25 and 10.0.1.2 vs 10.0.1.4. If not, this means that you are not on the right wifi network. If you don’t know the name of your wifi or your wifi is not set up, please refer to your router instructions or contact your internet service provider.
- To fix this issue make sure that the printer is connected via ethernet to the same router that the iPad is connected to.
Advanced Troubleshooting
If you followed all the steps above and the printer still isn’t working please follow the steps here.
Step 1 - Print out a copy of the printers feed by following the steps below.
- Turn off the printer
- Press and hold the feed button
- Turn on the printer
- Release the feed button
- One or two sheets will be printed out. The IP address will be shown on one of the pages. Circle it, it will be used later on.
Step 2 - On the printed out feed look to see if the "91 multi session" is enabled or disabled.
- If disabled go to step 3.
- If its enabled factory reset the printer and then follow the steps here in order to add the new IP address.

Step 3 - Access the following URL and follow the steps from page 1-6.
If even that doesn't work then we still have on final task for you to try! Please see the following article as a final troubleshooting attempt.