Printer - Relinking an Ethernet Printer to the POS
The reason you would need to relink your printer to the POS is only if the IP address has changed and no longer matches what is set up in your POS settings.
- Open the NownPOS app and go to the setup, section.
- Open Station Setup
- Tap on the pencil icon on the right hand side of the station you wish to edit.
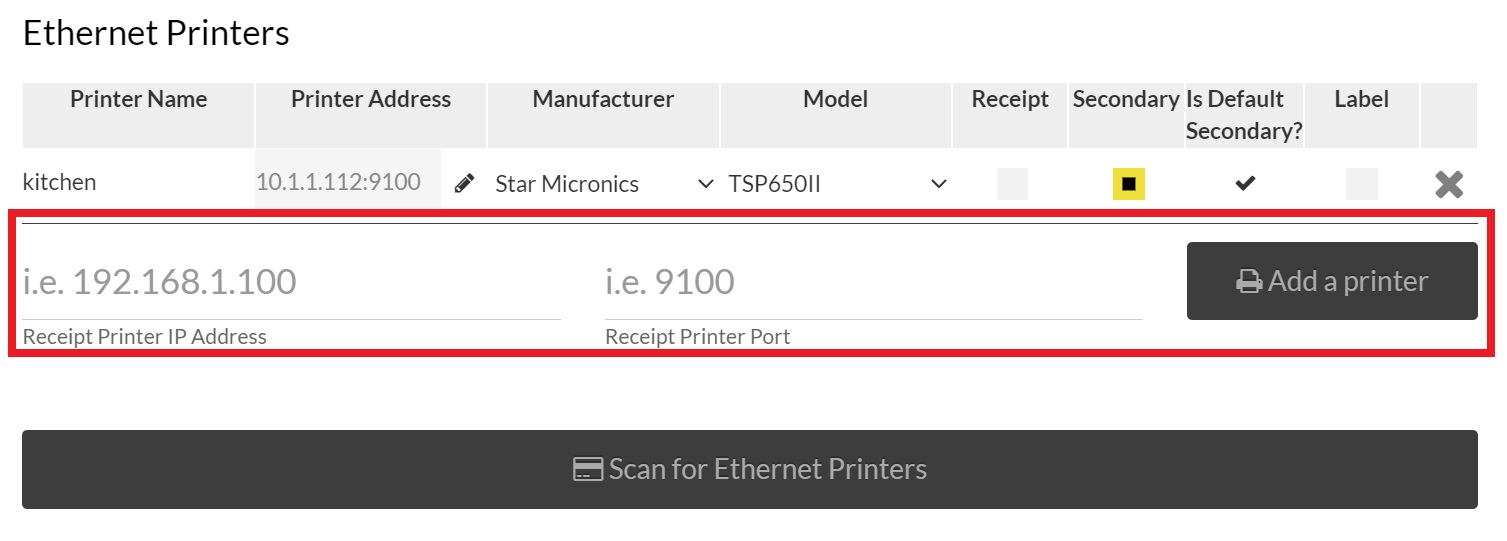
- All you need is the printer IP address and receipt printer port. The Receipt Printer Port is 9100! Once again when you’re done click “Add a printer”. Note if you are changing the address of an existing printer you will first need to remove the printer by pressing the "X"

5. A new field will appear, you need to make sure you: set the name of your printer, what you want it to print, and the make and model of your printer. Please select the right printer make and model otherwise the your receipt format will be wrong.
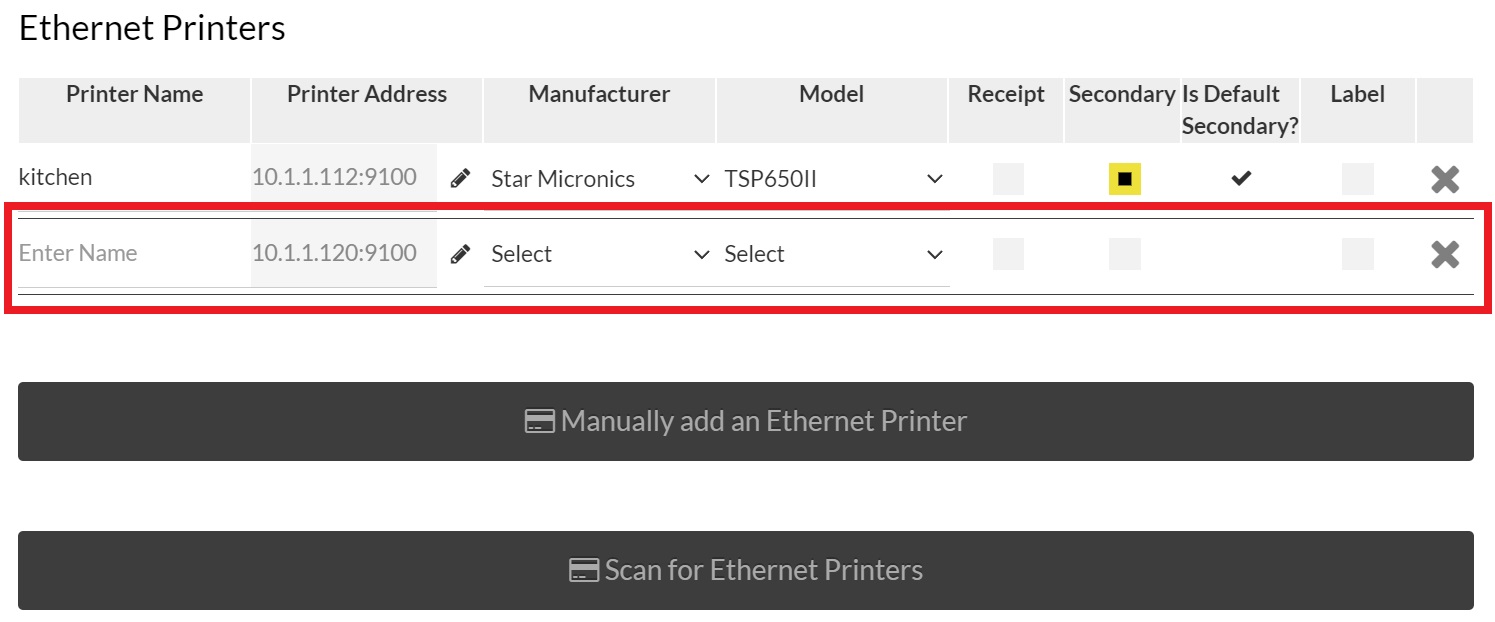
Note: If you have a mC-Print 3 select "mPOP" for the model
